The artifact I want to write about this week is not one single artifact, but a bundle of them that are included in the same category.
-

- Sniper Rifle
-

- Shotgun
-

- Bazooka
Last week I focused my attention on creating and finishing the weapons for the main character Stephen in our game. It’s essential that he has weapons so that the player will be able to shoot the fishes that are attacking Stephen. My team and I wanted the focus of our game to be on different choices of weapons with different behaviors, mainly for the fun factor of it.
During playtesting for both the Alpha and the Beta versions of our game, there were some confusion over the weapon’s behaviors among the playtesters – and rightly so. The fact that we had used the machine gun sprite for all the weapons made it really difficult to distinguish between them and know why there were different behaviors and shooting patterns. Everyone simply ended up thinking that the machine gun was malfunctioning.
The plan all along was of course to make placeholders for all four of our chosen weapons. Apart from the machine gun, we decided to implement a shot gun, a bazooka and a sniper rifle. We focused our attention on getting a different feel of the handling of them and code wise we already had this going in the game.
So, the first thing that I did was to research the different types of weapons for references and to figure out the design of each one. I simply chose the reference pictures according to my liking and the way they displayed the functionality of the individual weapons.
As I’ve had the same work-flow and procedure with all the weapons made last week, I will only include a general description of the process and not go into describing the making of all the weapons individually.
I began sketching (in Photoshop, as per usual), using the reference pictures as guides for the outlines and most of the details. I kept it imprecise, so that I would focus the attention on the general shape and get the initial design down rather that nitpicking on details.
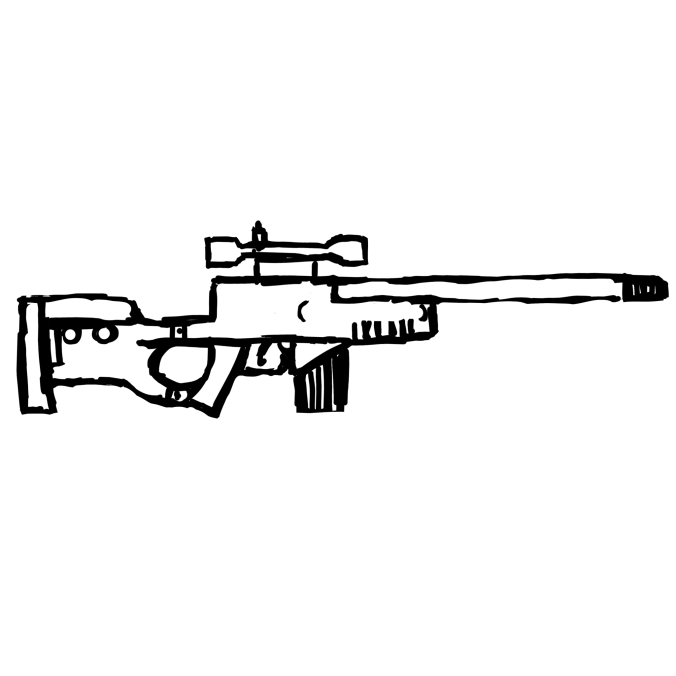
Example of sketch: Sniper Rifle
After I had a sketch ready, I made a new layer and proceeded to draw the line art. At some points in the process I would hold down the shift button during a stroke, to make a completely straight line. This made the whole process a bit less time consuming. Otherwise, I’ve been getting better at line art, so I didn’t struggle as much with creating straight lines as I’ve done before.
The coloring process was fairly simple. I decided to keep the same color scheme for all the weapons. After I’d done the local color in a layer, I went on to create the shadows. I wanted the shadows to stand out and create a quite special effect from a visual design point of view. That’s why I didn’t blend or fade the shadows but kept them harsh looking.
Looking back, it’s quite interesting to see the progress that I’ve made with the weapon assets design. Just comparing the machine gun to the other weapons, it’s clear which of them was created first. I didn’t really encounter any difficulties during creation this time, which was a nice breather from the usual technical struggles I’ve had with Photoshop. I went with the flow and had fun making these assets!
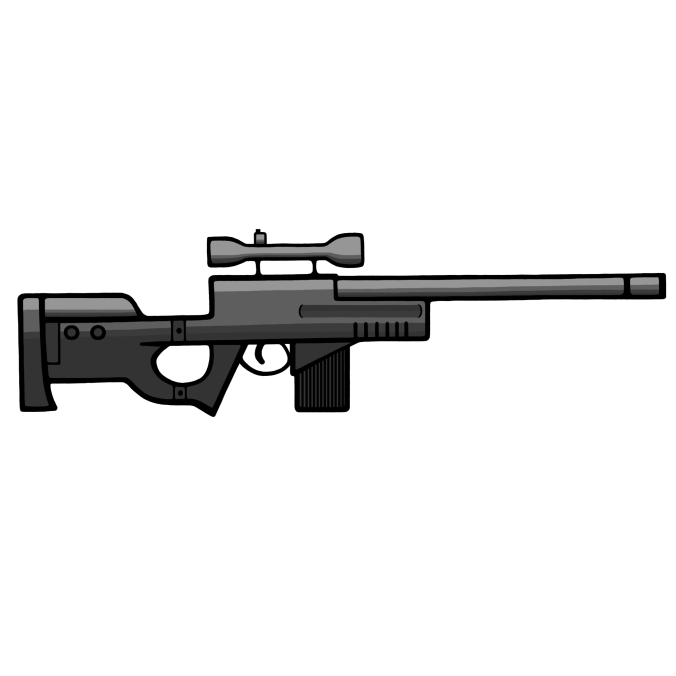
Sniper Rifle
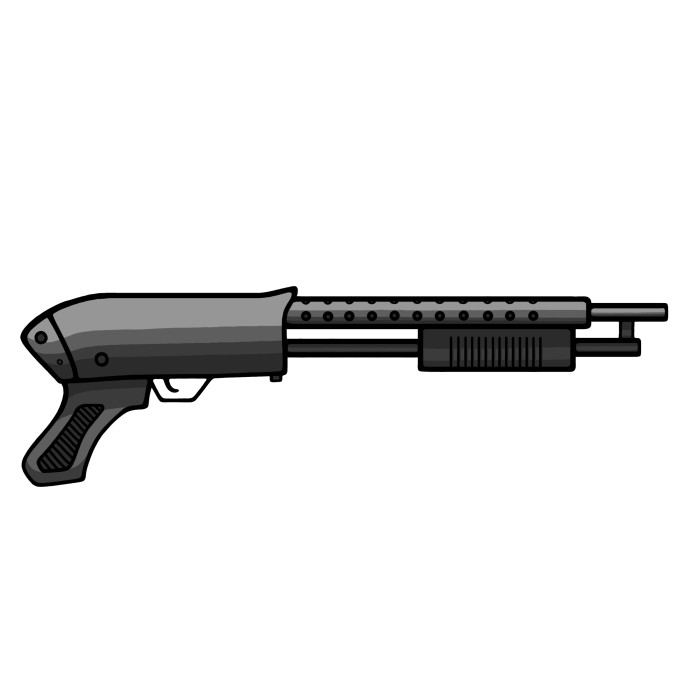
Shotgun
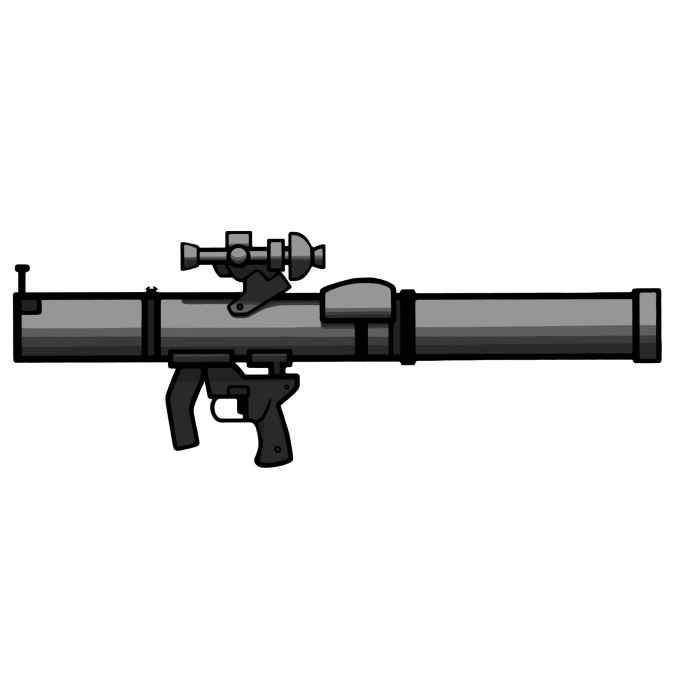
Bazooka
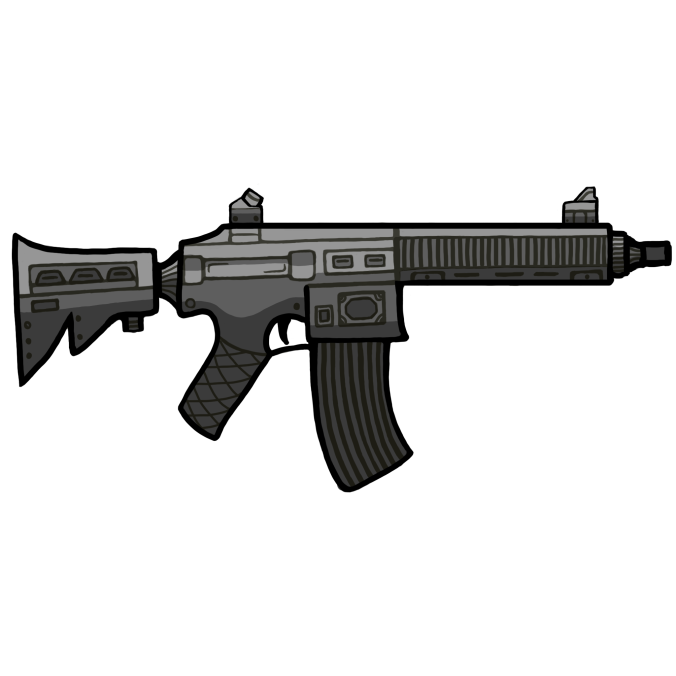
Machine Gun